Creating a Regatta Basic Details
After selecting your billing mode, you’re ready to enter the essential details that will define your regatta. This section covers the basic information you’ll need to enter, including event details, dates, registration settings, and optional features like late fees, documents, and profile requirements.
Not ready for a real event?
Test all RegattaHub features with mock data — no payment setup required.
Learn how to create a mock regattaAfter selecting your billing mode, you’re ready to enter the essential details that will define your regatta. This section covers all the basic information fields including event details, dates, registration settings, and optional features like late fees, documents, and profile requirements.
The form is organized into logical sections on the left side (Basic Information and optional settings) and the right side (Sailing Classes, Waivers, Logo, and other configurations). All required fields are marked with an asterisk (*).
Prerequisites
Before you begin this section:
- You’ve completed Section 1: Billing Mode Setup
- You have all your event details ready (dates, location, venue)
- You have any documents prepared (Notice of Race, Sailing Instructions, waiver PDFs)
- You have your regatta logo ready (optional, recommended size: 640x240px)
- You know your registration timeline and any late fee structure
Form Overview

After completing billing setup, you’ll see:
Header Section:
- Page Title: “Create New Regatta”
- Billing Mode Indicator: Shows your selected billing mode (e.g., “Billing: Test Mode”)
- Cancel Button: Returns to Regatta Management without saving
- Create Regatta Button: Initially disabled until all required fields are completed
- Validation Message: Shows what’s missing before you can create (e.g., “Please add at least one sailing class”)
Form Layout:
- Left Column: Basic information and optional settings (late fees, documents, email settings, profile requirements)
- Right Column: Sailing Classes (required) and optional settings (event waiver, regatta logo, sailing instructions, contact information, additional information)
Step 1: Enter Basic Information
The Basic Information section contains the core details about your regatta that will appear on the public event listing and detail pages.
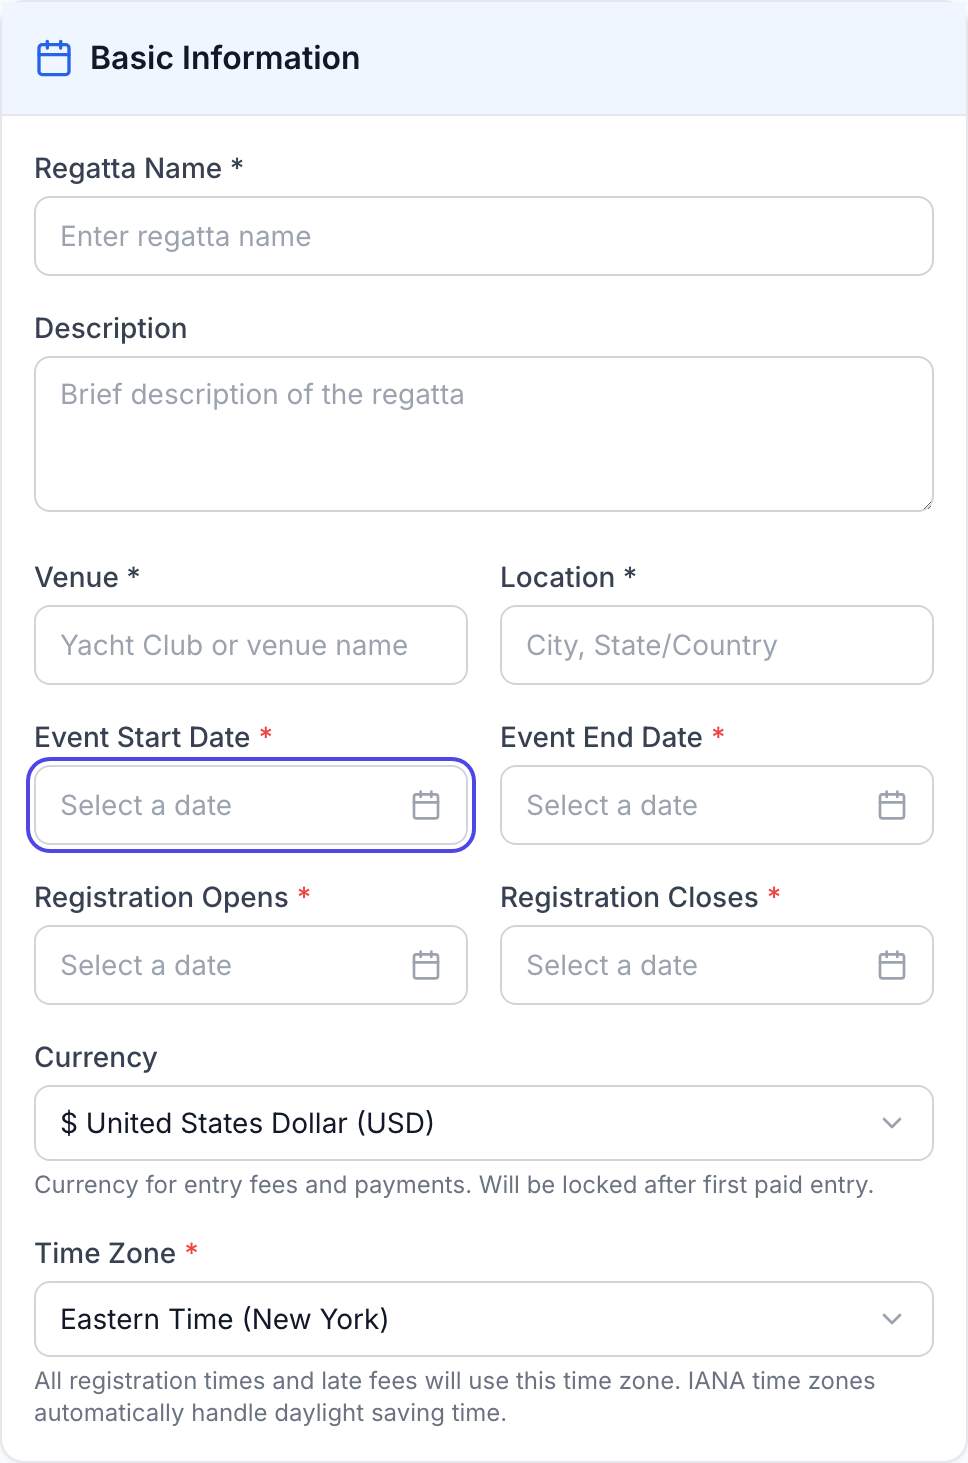
Required Fields
Regatta Name *
Purpose: The official name of your regatta as it will appear throughout the platform.
Description
Purpose: A brief overview of your regatta to help participants understand what to expect. Will appear on the regatta overview page
Venue *
Purpose: The primary location or yacht club hosting the regatta.
Location *
Purpose: The city and state/country where the regatta takes place.
Currency
Purpose: The currency used for entry fees and payments.
Note: Currency is locked after the first paid entry.
Time Zone *
Purpose: The time zone used for registration timing and late fees.
Note: RegattaHub automatically handles daylight saving time using IANA time zones.
Step 2: Select Event Dates
The date fields define when your regatta takes place and when participants can register. All date fields use an interactive date picker calendar.
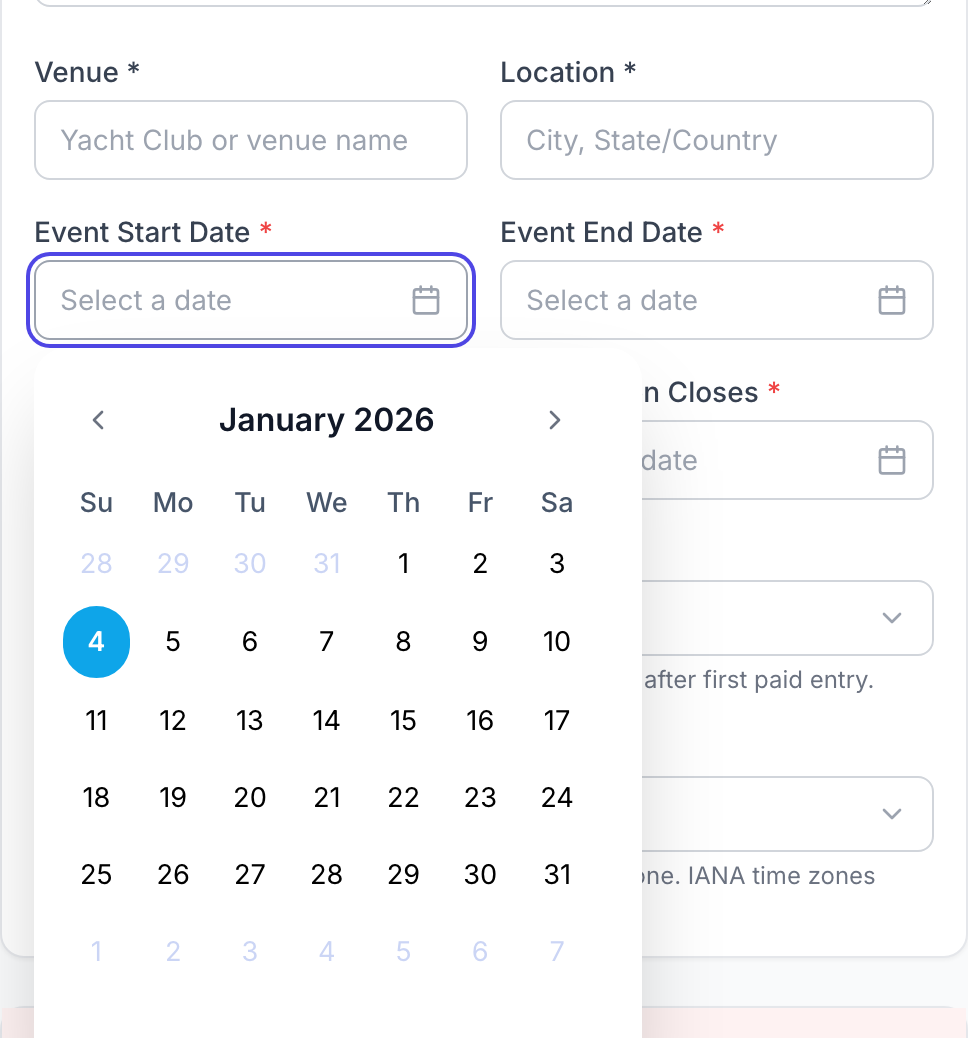
Using the Date Picker
To select a date:
- Click the “Select a date” button for any date field
- A calendar popup will appear showing the current month
- Navigate months using the left/right arrow buttons at the top
- Click on any date to select it
- The calendar will close and your selection will appear in the field
Event Start Date *
Purpose: The first day of your regatta.
Event End Date *
Purpose: The last day of your regatta.
Registration Opens *
Purpose: The date when online registration becomes available (in the selected time zone).
Registration Closes *
Purpose: The date when online registration closes (in the selected time zone).
Step 3: Configure Late Registration Fees (Optional)
Late registration fees incentivize early registration and help you plan better. RegattaHub supports up to two late fee periods.
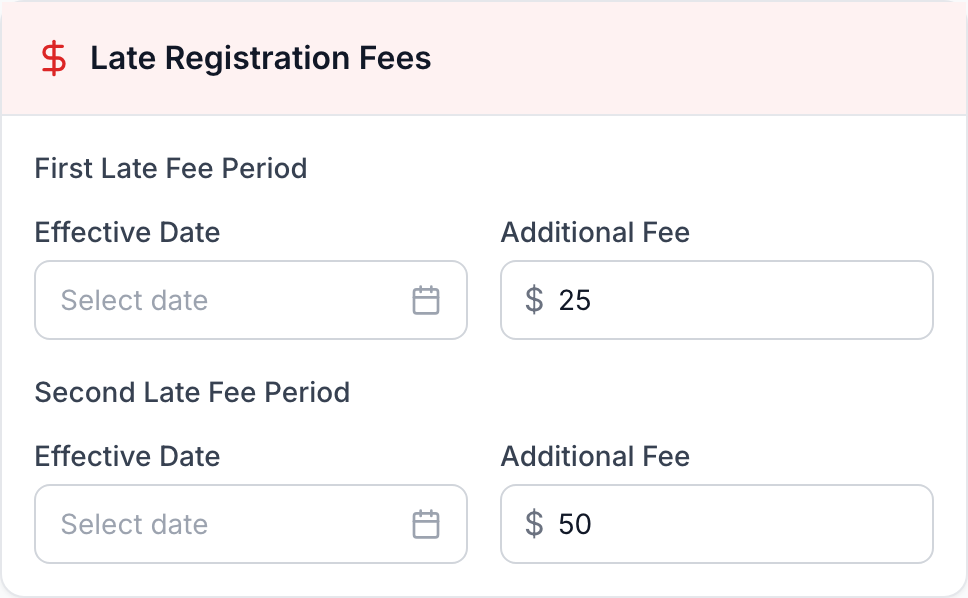
How Late Fees Work
- Based on Payment Date: Applied based on payment date, not registration date.
- Automatic Application: Late fees are added automatically based on payment date
- Optional Feature: Leave date fields empty if you don’t want late fees
- Two Periods Maximum: First late fee period and second late fee period
- Fees are not additive: Fee is based on the time paid. For example on October 9th it would be entry fee +$25 and on November 1st entry fee +$50.
Step 4: Upload Documents (Optional)
RegattaHub allows you to attach important sailing documents that participants can download.
Notice of Race (NOR)
Instructions:
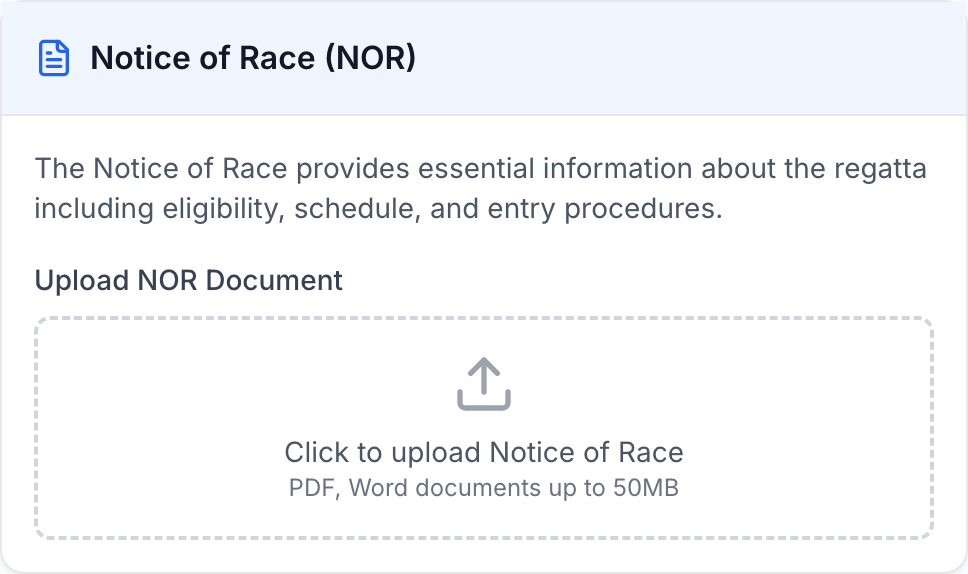
- Click the “Click to upload Notice of Race” area or “Choose File” button
- Select your NOR document from your computer
- Accepted formats: PDF, Word documents (.doc, .docx)
- Maximum file size: 50MB
- The file name will appear once uploaded
Sailing Instructions (SI)
Purpose: Sailing Instructions provide specific details about racing rules, courses, and procedures for the regatta.
Instructions:
- Scroll to the “Sailing Instructions (SI)” section
- Click the “Click to upload Sailing Instructions” area or “Choose File” button
- Select your SI document from your computer
- Accepted formats: PDF, Word documents (.doc, .docx)
- Maximum file size: 50MB
Step 5: Customize Email Settings (Optional)
Control how emails from your regatta appear to participants.
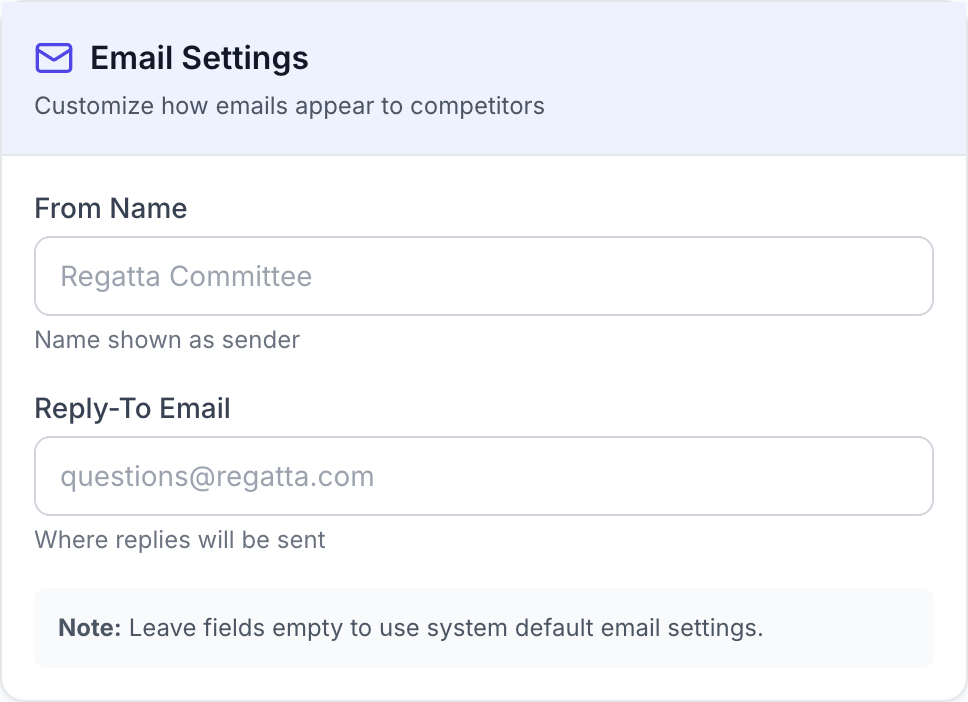
From Name
Purpose: The name that appears as the sender in email notifications.
Default Behavior: If left empty, emails use the system default sender name.
Instructions:
- Enter a recognizable name in the “From Name” field
- Use your organization name or race committee name
- Keep it professional and clear
Reply-To Email
Purpose: Where replies to emails will be sent.
Default Behavior: If left empty, replies use the system default reply-to address.
Instructions:
- Enter a monitored email address in the “Reply-To Email” field
- Use a shared inbox or race committee email
- Make sure someone checks this email regularly
Important: Leave both fields empty to use system default email settings.
Step 6: Configure Profile Requirements (Optional)
Choose which additional profile fields participants must complete during registration.
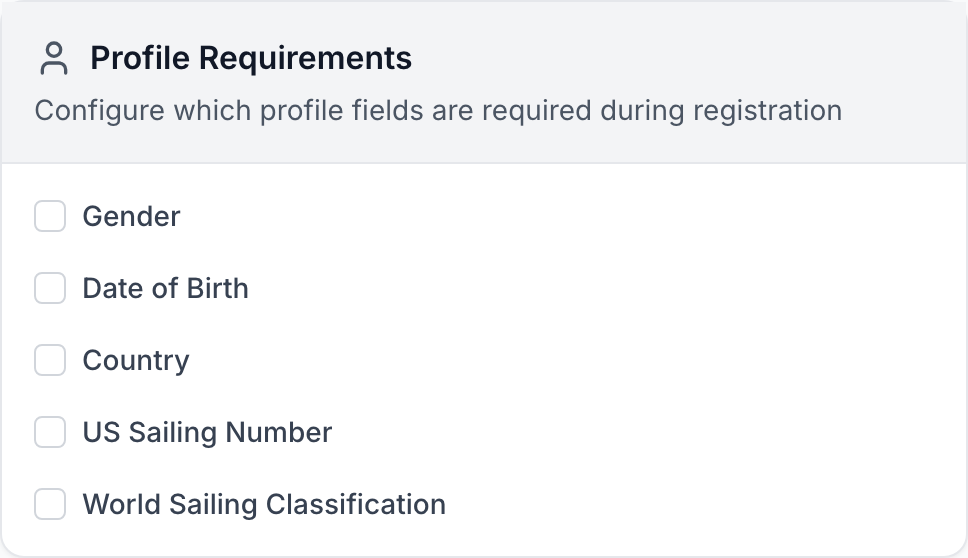
Available Profile Fields
By default, basic fields (name, email) are always required. You can request and/or require additional fields:
Selecting Requirements
Instructions:
- Check the box next to each field you want to require
- Checked boxes will show a checkmark icon
- Unchecked boxes will show an empty box
- Changes take effect immediately
Step 7: Understanding Required Next Steps
Before you can create your regatta, you must add at least one sailing class and complete all required fields. If something required is missing, you’ll see a validation message at the top:
“Please add at least one sailing class before creating the regatta”
This message appears when:
- No sailing classes have been added to your regatta
- The “Create Regatta” button will remain disabled
- You cannot create the regatta until at least one class is added
What’s Next
You must complete the following before you can create your regatta:
- Add at least one Sailing Class (required)
- Optionally configure Event Waiver
- Optionally upload Regatta Logo
- Optionally add Contact Information
- Optionally create Additional Information sections
Note: Sailing classes are covered in the Creating a Regatta Fleets & Classes guide and must be added before you can create the regatta.
Step 8: Additional Optional Settings
The form includes several other optional sections on the right side:
Event Waiver
- Upload a PDF waiver document
- Require participants to accept before completing registration
- Covered in detail in Creating a Regatta Waivers
Regatta Logo
- Upload your event logo or sponsor banner
- Recommended size: 640x240px rectangular format
- Accepted formats: PNG, JPG, GIF
- Maximum file size: 10MB
- Appears on regatta detail pages and materials
Contact Information
- Provide a contact name (e.g., Race Committee Chair)
- Contact email for questions
- Contact phone number
- Helps participants reach organizers with questions
Additional Information
- Create up to 2 custom content sections
- Add titles and instructions.
- Can mark sections as “Required during registration” to force an answer be given

Custom Section Limitations
Current Limitations:
- Maximum 2 custom sections per regatta
- Plain text only (no formatting, HTML, or Markdown)
- No image embedding
- No clickable links
- Character limit: ~5000 characters per section
Workarounds:
- For longer content, link to external webpage in Notice of Race
- For formatted content, upload PDF documents (NOR or SI sections)
- For images, reference external URLs participants can visit
- For forms/surveys, include external link in plain text
Validation and Error Handling
Required Field Validation
The form will prevent submission if:
- Any field marked with * is empty
- No sailing classes have been added (see Creating a Regatta Fleets & Classes)
- Dates are in an invalid order (e.g., End Date before Start Date)
- Registration Closes is before Registration Opens
Visual Indicators:
- Empty required fields may show a red border when you try to submit
- Validation messages appear at the top of the form
- The “Create Regatta” button remains disabled until all issues are resolved
Common Questions
Can I edit these details after creating the regatta?
Yes! All basic information fields can be edited after creation through the regatta management dashboard. However, your billing mode cannot be changed after creation.
What if I don’t have all documents ready?
You can create your regatta without uploading documents. Documents like the NOR and SI can be added or updated later through the regatta edit page.
Do I need to add a logo?
No, the logo is completely optional. However, a professional logo helps your regatta stand out on the events listing page and looks more polished to potential participants.
Can I use custom date formats?
No, you must use the date picker provided. This ensures dates are stored correctly and displayed consistently across all time zones.
What happens if participants register during different late fee periods?
Each participant pays the entry fee that is current when they pay.
Can I change late fees after registration opens?
You can adjust late fees, but it’s not recommended after registration opens. Participants who already registered are not affected by fee changes - they paid the fee that was current at their payment time.
What if I want more than two late fee periods?
RegattaHub currently supports a maximum of two late fee periods.
Can I require additional profile fields later?
Yes, you can change profile requirements at any time. However, participants who already registered won’t be prompted to update their profiles unless they edit their entry.